 Online Help |
|
After you have added or modified the default images using the Miva Merchant interface, you may still need to add additional images. These can be added into the messages, headers and footers, and other text boxes that also accept HTML.
In the store below, we have added category images which have links to each of their pages.
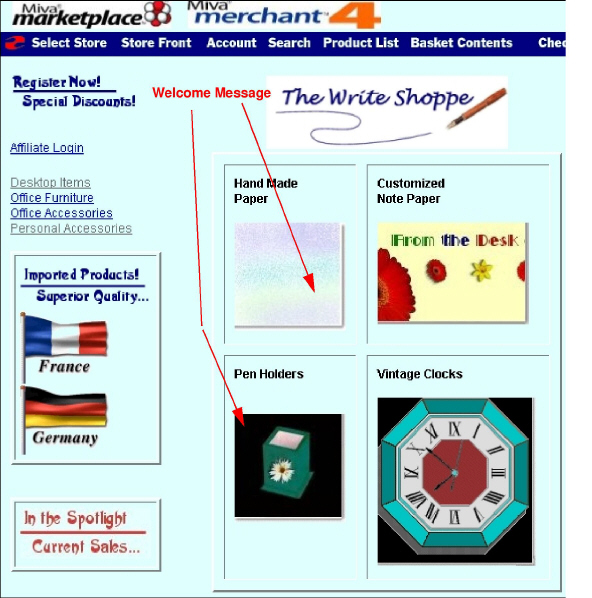
When you display an image (the HTML “img src”), the path for it within Miva Merchant is a relative path. That is, enter only 'graphics/store#/image' since your domain setting already identifies the graphics root directory. There is no need to use the full URL (starting with http), and doing so can cause problems.
Use the following procedure to enter data:
Create a separate HTML text file. (It is easier to modify.) If you put it in your Merchant 2 script directory, you can test the links and graphics will display.
Get the address for the product to which you want to link:
In your Administration Interface, go to the product page to which you want to create a link. In the top, right corner, click the link button, then copy the Product Display URL.
|
|
Note: Usually a link in your store to an item in your store can be a relative link. (Starting with “merchant.mv?” as shown in the Complete HTML text on following page.) Relative links will not work for cgi style stores, and if the link is outside the store. |
In the Administrative Interface, click the link for your store, and click the Messages link.
When you complete the HTML file, copy all but the beginning and ending HTML, HEAD, and BODY tags and paste it into the Store Front Welcome message text box.
Click Update.
The full HTML text is shown below.
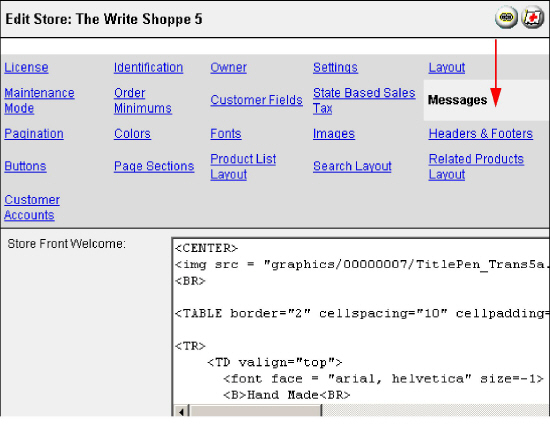
Welcome Message HTML
<CENTER>
<img src = "graphics/00000007/TitlePen_Trans5a.gif"><BR> <TABLE border="2" cellspacing="10" cellpadding="10" >
<TR>
<TD valign="top">
<font face = "arial, helvetica" size=-1>
<B>Hand Made<BR>
Paper</B></font><BR><BR>
<a href = "merchant.mv?Screen=CTGY&Store_Code=WS5&Category_Code=ODI"><img src = "graphics/00000007/P_Pastel-SF.jpg" alt = "Paper" border=0></a>
</TD>
<TD valign="top">
<font face = "arial, helvetica" size=-1>
<B>Customized<BR>
Note Paper</B></font><BR><BR>
<a href = "merchant.mv?Screen=CTGY&Store_Code=WS5&Category_Code=ODI"><img src = "graphics/00000007/NP3-SF.jpg" alt = "Note Paper" border=0></a>
</TD>
</TR>
<TR>
<TD valign="top">
<font face = "arial, helvetica" size=-1>
<B>Pen Holders</B></font><BR><BR><BR>
<a href ="merchant.mv?Screen=CTGY&Store_Code=WS5&Category_Code=PH"><img src = "graphics/00000007/PenBox2-SF.jpg" alt = "Pen Holder" border=0></a>
</TD>
<TD valign="top">
<font face = "arial, helvetica" size=-1>
<B>Vintage Clocks</B><BR>
</font><BR>
<a href = "merchant.mv?Screen=CTGY&Store_Code=WS5&Category_Code=OA"><img src = "graphics/00000007/Clock2-SF.gif" alt = "Art Deco Clock" border=0></a> </TD>
</TR>
</TABLE>
</CENTER>
If you want to have more control over the look of your store, you can use images instead of text in many places. Text sizes, font face, and colors can change from browser to browser, depending on the users settings. Any text box in Miva Merchant accepts HTML.

Initially, the login links are text. Anywhere there is a text box, which accept HTML, you can enter an image. Using an image instead of text allows for control over the font and size.
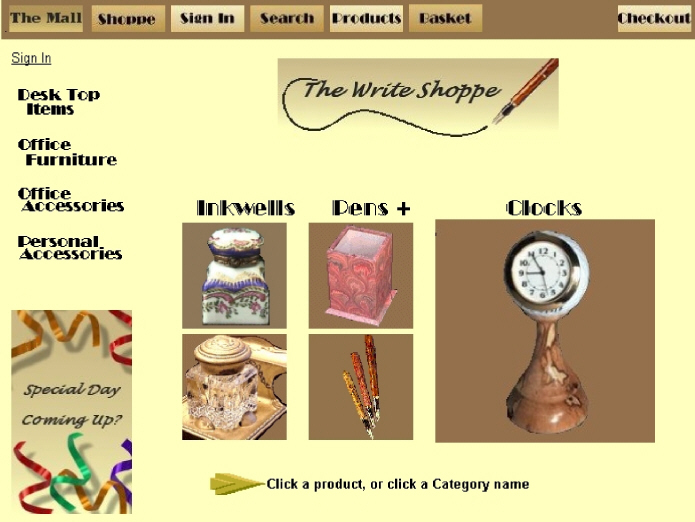
That's what was done on the store front.
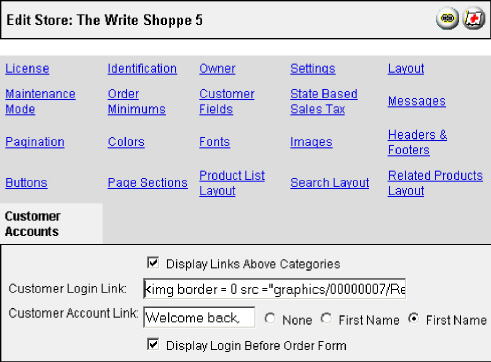
To change Customer Accounts:
In the Administrative Interface menu, click the link for your store.
Click the Customer Accounts link.
Enter the HTML for the graphic(s).
|
|
Note: Remember to enter the relative path to the Merchant2 graphics store # directory in which your image is stored. |
Click Update.
The sample category footer below contains a table and images. The images are actually links to categories that do not display in the category tree until one of these categories is selected. See Hiding Categories in the customizing guide Change Your Store Layout.
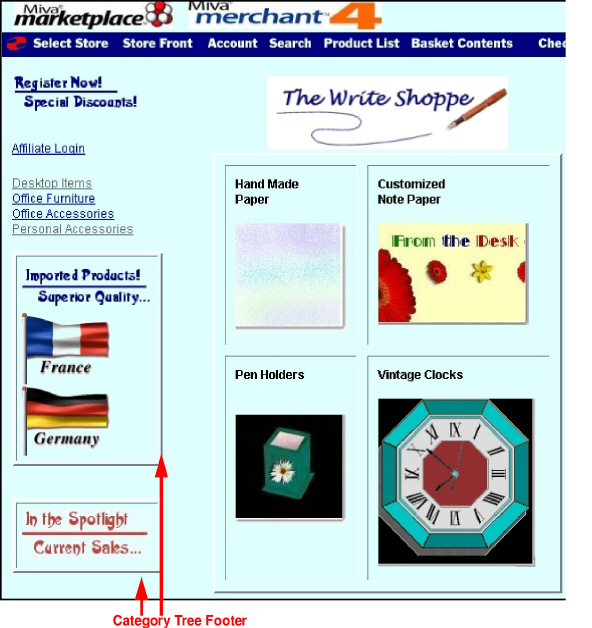
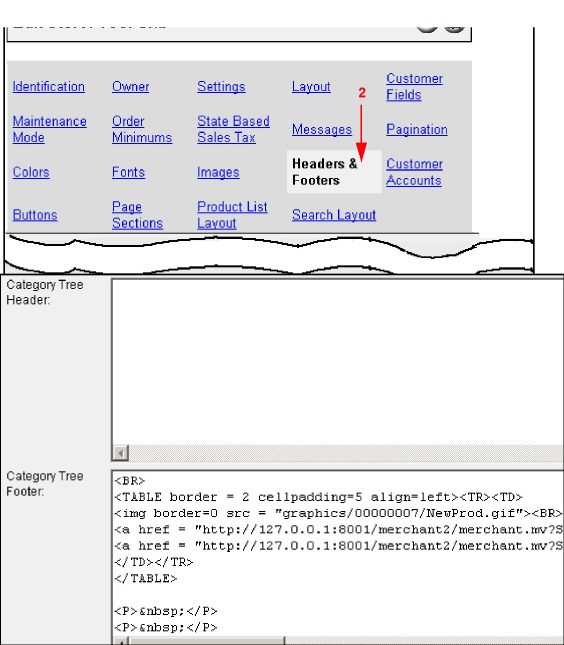
To enter you HTML data:
In the administrative interface menu, click the link for your store.
Click the Header & Footer link. Scroll down to or use the Browser Find command for the Category Tree Header or Footer.
Paste or type your text directly into the Category Header or Footer.
Click Update. (You must scroll all the way down to the bottom.)
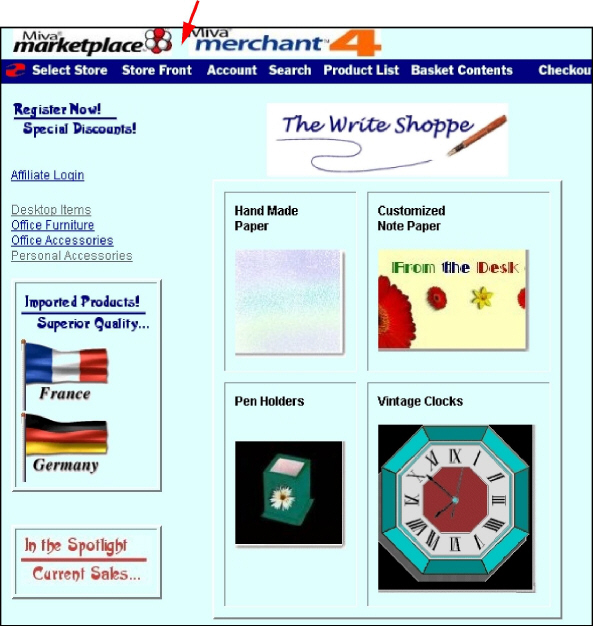
The Global Header displays on all store pages. You might enter linked logos to your other sites, as with the image below.
You might also use it to enter your navigation bar. See the customizing guide Change Your Store Layout for an example.
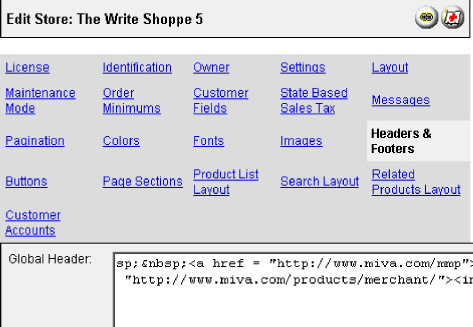
The Global Header accepts HTML and other data that can be read by your browser.
To enter data:
In the Administration menu, select your store name.
Select the Headers & Footers tab.
Enter the data.
Scroll all the way down to the bottom, and click Update.
You may have some products for which you'd like to present several angles, or an enlarged image, as we have in the store below.
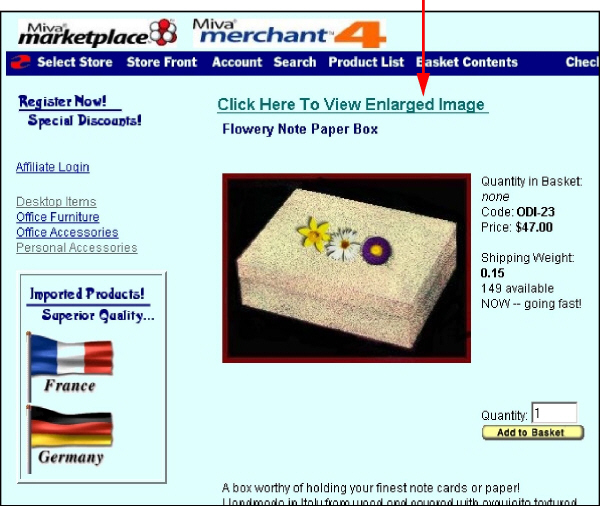
In this case, we simply entered the name of image file as the reference. When the customer clicks the link, they will see the image, and will need to click the Back button of the browser to return to the original product page.
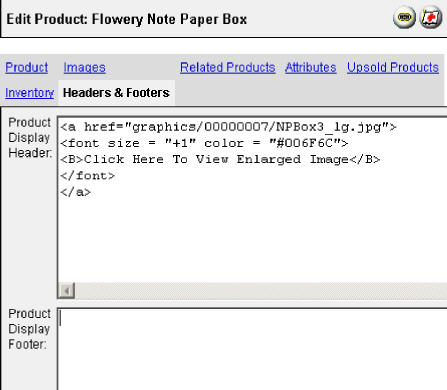
However, you could set up a new HTML page that contains the image, text, and a back button. Or, enter a Java Script pop-up window.
HTML Code entered:
<a href="graphics/00000007/NPBox3_lg.jpg">
<font size = "+1" color = "#006F6C">
<B>Click Here To View Enlarged Image</B>
</font>
</a>
When you add images to your store front to link categories, products, or both, you want to make sure that they are the focus, and not other graphics that may be on your store front pages to dress it up, such as The Write Shoppe graphic below. Just be sure to limit the number of these graphics, so as to not be too distracting.
You may want to check the Galleria at the Miva Merchant web site, which provides links to a few stores that use Miva Merchant: http://www.mivamerchant.com/galleria/
