 Online Help |
|
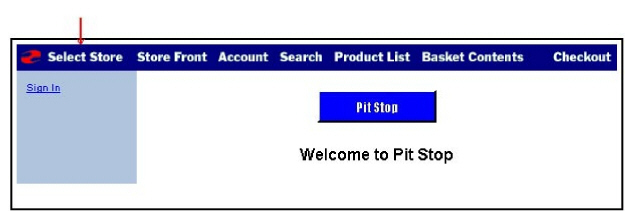
When you create more then one store within the same domain, a Miva Merchant Mall is automatically created. After you have created the second store, you will notice that a new link (second from left) has been added to the Navigation Bar. The link's default name is Select Store.
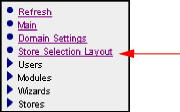
Store Selection Layout is a link in the Administration Interface Menu.
The Mall web page allows your customers to choose which of your stores they want to enter. Design this screen to show off each of your stores.
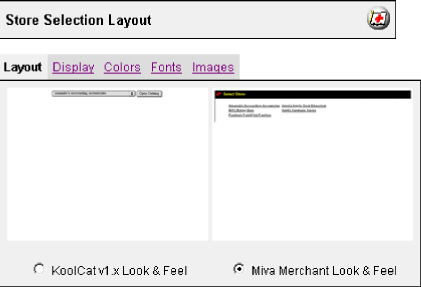
The Layout form allows you to chose between Miva Merchant KoolCat v1.x and the Miva Merchant. Make your selection by clicking the radio button below your preferred Look and Feel.
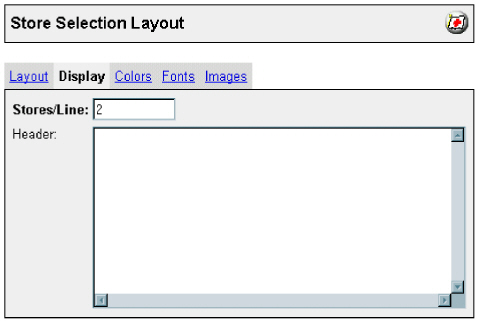
The Display form allows you to define the following areas.
Define the number of stores that are displayed on a line of the page.
Change the page header and the display graphics for the stores in the mall.
Enter the number of store links you want to be displayed per line. The default is 2 store links per line.
Enter any combination of text and HTML for your Header.
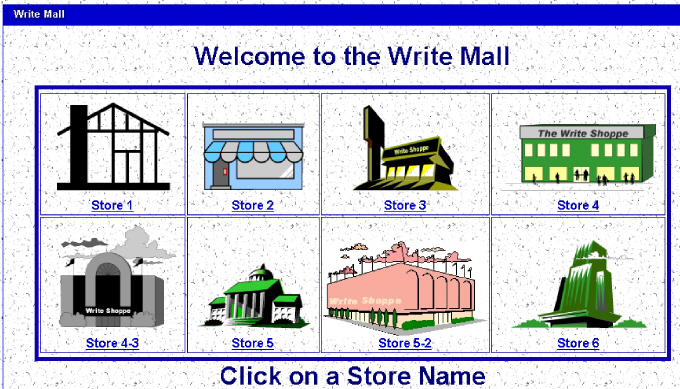
4.13 & below: The HTML code below displays the Mall screen shown on page 4.
|
|
Note: Miva Merchant 4.14 and above: Substitute the .mv extension, as in merchant.mv, with .mvc. |
<b><font size="7"> <center> Welcome to the Write Mall<br><br>
<table border="5" cellspacing="2" cellpadding="2" Bordercolor="mednightblue">
<tr><colgroup width="1000" span="4" valign="bottom">
<td align="center"><IMG ALT = "store 1 " BORDER = 0
SRC = "graphics/store1.gif"><br><b><font size="5">
<a href="merchant.mv?Screen=SFNT&Store_Code=001">Store 1 </a> </td>
<td align="center"><IMG ALT = "store 2 " BORDER = 0
SRC = "graphics/store2.gif"><br><b><font size="5">
<a href="merchant.mv?Screen=SFNT&Store_Code=store2">Store 2 </a> </td>
<td align="center"><IMG ALT = "store 3 " BORDER = 0
SRC = "graphics/store3.gif"><br><b><font size="5">
<a href="merchant.mv?Screen=SFNT&Store_Code=store3">Store 3 </a> </td>
<td align="center"><IMG ALT = "store 4 " BORDER = 0
SRC = "graphics/store6.gif"><br><b><font size="5">
<a href="merchant.mv?Screen=SFNT&Store_Code=store4">Store 4 </a> </td>
</tr>
<tr>
<td align="center"><IMG ALT = "store 4-3 " BORDER = 0
SRC = "graphics/store4-3.gif"><br><b><font size="5">
<a href="merchant.mv?Screen=SFNT&Store_Code=store4-3">Store 4-3 </a>
</td>
<td align="center"><IMG ALT = "store 5 " BORDER = 0
SRC = "graphics/store4.gif"><br><b><font size="5">
<a href="merchant.mv?Screen=SFNT&Store_Code=store5">Store 5 </a> </td>
<td align="center"><IMG ALT = "store 5-2 " BORDER = 0
SRC = "graphics/store5_2.jpg"><br><b><font size="5">
<a href="merchant.mv?Screen=SFNT&Store_Code=5-2">Store 5-2 </a> </td>
<td align="center"><IMG ALT = "store 6" BORDER = 0
SRC = "graphics/store5.gif"><br><b><font size="5">
<a href="merchant.mv?Screen=SFNT&Store_Code=6">Store 6 </a> </td>
</tr>
</table>
Click on a Store Name </center>
</font>
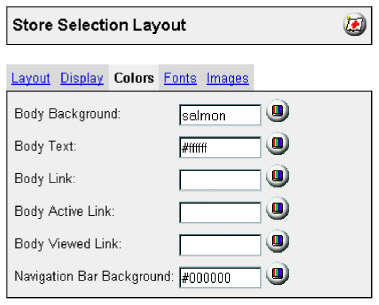
The Colors form allows you to change the default colors assigned to backgrounds, text, and links on the Mall window:
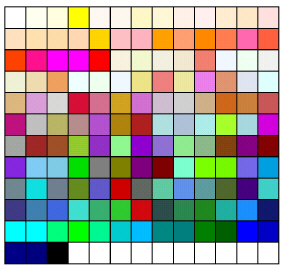
There is more than one way to enter the color.
Enter the color into the text box. This is done using the hex code (i.e. #ffffff) or recognized as a literal (i.e. blue).
Click the Select Color button  and use the Color Selector.
Click on a color in the palette at the top of the screen to choose a color.
Remember, nothing is final until you click the Update button.
Make your own custom color.

Enter the RGB values into the Red, Green, and Blue boxes, or
Click the Color box to have the color block to the left display the new color. The hex value will appear in the Color box.
Enter the name or the hex value of the new color in the Color box.
Click Save.
The Cancel button will close the Color Selector window without making any changes.
The Fonts link has options for font formatting.
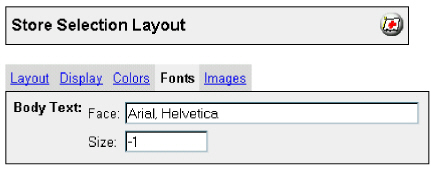
Font face type
You can define the font that the mall displays by entering it into the Face text box.
General type fonts:
serif - the font has serifs, or hooks, on it. Times and Times New Roman are the most prevalent serif fonts.
sans-serif - the font has no serifs. The two most prevalent sans-serif fonts are Arial and Helvetica.
Enter up to five different fonts if you wish, using commas as delimiters. Enter them in the order you want them to be selected. If the browser does not support the first font listed it will try the second and so forth. If it does not support any of the fonts listed, it uses its own default font.
Font size
Font size is generally relative to the default set by the browser. Miva Merchant supports relative sizes from -2 to +2. This means that you can make any text either 2 sizes bigger or two sizes smaller than the default text that is being displayed by the browser. Enter the relative size in the Size text box.
The Images screen allows you to change the default images for the Mall Navigation Bar Logo and the Navigation Bar “Select Store” image. You may also enter a Body Background image on this screen.
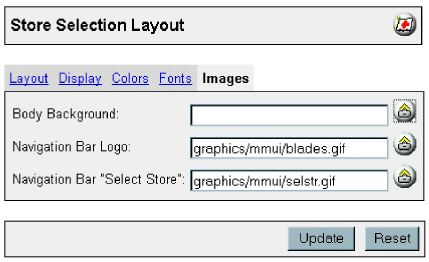
Enter the path to your image in the text box, or
Click the Upload File  button to display the Upload File form.
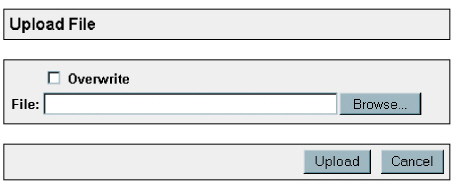
Click Overwrite to replace an existing graphic with the file you select here. When you click Browse, you will open the Choose File window.
Select the graphic file and click Open.
Click the Update button at the bottom of the Store Selection Layout screen.